Friday, December 4, 2015

Free Pattern Friday #2: The Big Squoosh Cowl


Ok, so I'm technically posting this on Saturday... let's blame it on jury duty! Blame ALL THE THINGS on jury duty, woo!

...ahem.

BIG SQUOOSH COWL

Materials:
220 yds of heavy worsted/ bulky yarn, totally up to you as to which you prefer. Obviously, the bulkier the yarn, the squishier the fabric
Size 10 18" circulars (16" will do in a pinch, but it'll be tight)
Crochet hook for weaving in ends

PATTERN:

Cast on 96 stitches. If you prefer a longer cowl, just make sure you cast on a multiple of 8 sts. Join in the round, being careful not to twist stitches.

SECTION 1:

K4, p4 for 8 rounds.

SECTION 2:

(K 1 round, purl 1 round) twice. This equals four rows of garter stitch in the round.

SECTION 3:

K2, p2 around for 4 rounds.

SECTION 4:

K around for 4 rows.

Repeat sections 3 and 4 as many times as you'd like, until total height of cowl is about 2-3 inches less than you'd like, ending on a section 3.

Repeat section 2 once.

Repeat section 1 once.

BO in pattern.

Weave in ends, block if desired, and enjoy!

You can find me on YouTubeFacebookPinterest, and Instagram, and my recycled yarn store is on Etsy.  (You can still find some of the yarn I used for this cowl there!) Feel free to ask to questions or just stop by to say hello- happy knitting!


Monday, November 9, 2015

Crazy For Cowichans: The String Sanctuary Sweater Series, Part 1

Two nights ago, Sunday night, to be precise, I was aimlessly searching through YouTube videos about knitting, and stumbled upon this documentary about the Coast Salish knitters. Previously, I had never heard of them, or Cowichan sweaters in general. In fact, when I saw the words "Coast Salish", I thought it sounded very... I dunno, British? Yeah, ok, it's British Columbia, so I guess I wasn't terribly far off the mark there, but still.


The fact that I think it's an excellent, well presented documentary aside, it really lit a burning curiosity in me to know more about these sweaters, their creation, and the people who make them. I recommend that you watch the documentary- it isn't long, and it's comprised of firsthand accounts by the knitters of these gorgeous sweaters themselves. They give compelling accounts of not only their own experiences, but they share the stories of their ancestors and relatives as well. In case you don't feel like watching, don't have time, or just want to know more before you watch, here are a few facts:

  • Although the Salish women were experienced weavers, neither sheep nor knitting were introduced to the area until about 1850. Prior to that, fiber used was comprised of mountain goat and dog hair. The dogs, of course, were quite fluffy. Unfortunately, that dog breed, compared in appearance to Pomeranians, has been extinct since the 1860s.
  • Only the natural colors of sheep are used, traditionally- black sheep are especially highly prized, because they provide contrasting wool for the beautiful designs on each sweater. 


  • The wool itself, being hand processed by the women, led to the ingenious invention of the Indian Head spinning wheel, a modification of a treadled sewing machine which allowed it to spin wool by replacing the sewing machine with a flyer and bobbin that were controlled by the treadle. Before that, hand spindles were employed. 

  • Once the sweaters became popular in the mid twentieth century, the knitters were hard pressed to keep up with the demand- but at the same time, were being brutally exploited by the dealers who bought them. They made zero profit off their exquisite handiwork, and struggled to keep food on their tables. Not only that, the dealers tended to treat them quite harshly. Even into the later half of the century, a knitter might walk into a store, and see a sweater she had knit and was paid only $50 for, sitting on the rack for $300.

  • The wool is cleaned and processed specifically to keep the lanolin in the wool, which ensures that the sweaters repel water. It is spun thick and somewhat loose, and the sweaters are knitted on up to 8 needles at a time. 

One of the things I love most about these sweaters is that they are a perfect marriage of cultural traditions in textiles- they combine the stranded knitting from the British Isles with the traditional imagery of the Coast Salish natives. That's historical beauty and perfection, in my eyes. To see two textile art forms come together so easily and seamlessly, from two radically different cultures, is a testament to our ability as humans to adapt and evolve while creating new forms of expression.


Another thing that I really love about the sweaters is that no two are the same- and each pattern and animal has a different symbology. Bears, eagles, hummingbirds, frogs- each sweater has its own interpretation and cultural significance. They are similar to tattoos, in my mind, in that they enable the wearer to express themselves in a very visual fashion, though in a much less permanent way than a tattoo. 

I've been pretty curious about where these knitters stand today, fervently hoping that their circumstances have dramatically improved, and in my searching, found this Etsy shop which sells all sorts of authentic, hand made items. I see that the items are priced fairly, and it thrills me. I wouldn't imagine that this shop encompasses all of the community, but the internet has given individuals the power to connect directly to buyers these days, and therefore the power to earn what they deserve for work well done. 

I've also found a shop that has updated the more traditional garment shapes here, and it too includes authentic hand knitted items, sold at fair prices.
I definitely plan to purchase one some day, and I'm really glad to know that I can support the knitter directly- but in the mean time, I think it would be really interesting to experiment with their methods of spinning wool (I have little experience with spinning singles, as I prefer to ply) and perhaps incorporating some of their motifs into a small project, such as a bag, a hat, or a cowl. Although I don't have the same breed of wool (my stash is currently all Border Leicester; the wool they use is a churro cross breed) I know it will be a satisfying learning experience!

This is the first part of The String Sanctuary Sweater Series- the next part will focus on traditional gansey sweaters. (The story behind the patterns on them breaks my heart!) After that, I haven't yet got anything planned, but I'm eyeballin' some Icelandic sweaters, so we'll see. 

I hope you've learned something new, and if you like what you've read here, please follow me here so you don't miss a post. You can also find me on FacebookEtsyPinterestInstagram, and I've got a brand new weekly podcast called The CauldronCast here on YouTube

Thanks for reading, see you soon!


Friday, November 6, 2015

Free Pattern Friday #1: Yulunga Shawl

Hello there! Today marks the first day of something I'll be doing on the first Friday of every month: Free Pattern Friday! I'll be offering my own, original designs up for your enjoyment.

Today's offering is called the Yulunga shawl, named for its free spirited ways and the million different spins you can put on it to make it your own! Yulunga means "spirit dance" in the language of the Aborigines of Australia.


I was originally inspired by this shawl here on Ravelry, but tweaked it to get more mileage out of smaller amounts of hand spun yarns. The pattern is really simple, bottom up, great for beginner knitters, and almost instant gratification- it can totally be knit within a weekend! And if you're not a fan of garter stitch, you can use stockinette, or linen stitch, or some variation of a broken rib- but depending on what you use, you might want to be mindful of creating a non rolling border at the top of the shawl before you bind off.

Yulunga Shawl Pattern

Materials:
-115 yds or more of yarn, any weight- but thinner yarns will require more yardage for a decent sized shawl.

-A pair of circular needles appropriate for your yarn

-Extra yarn, or scrap yarn for tassels. You can have a lot of fun with all different colors and weights here. Go completely crazy with them- they can really make your shawl pop!

-Scissors

-Something to wrap yarn around to make tassels. DVD cases work great for this.

-Favorite beads or charms to work into the tassels if desired

Pattern:

Cast on 3 stitches, using the knitted cast on.

Set up rows:

Knit one stitch, yarn over twice, knit next stitch, yarn over twice, knit next stitch. Turn.

Knit 1, purl 1, knit 1- those last two stitches are your double yarn over. Knit 1, knit 1, purl 1, knit 1. You'll notice that the stitches on the double yarn over were reversed, and mirror the other side. It's not going to make a huge difference if you forget to mirror them, but I'm a little ocd about symmetry on some things, I guess ;-)

Row 1: K1, yo x2, k to last stitch, yo x2, k1.

Row 2: K1, p1, k1, k to last 3 sts, k1, p1, k1.

Repeat rows 1 and 2 until scarf/shawl is desired width and length, or you have run out of yarn.

I'd advise you to block before you put the tassels on; it'll make tying them on easier.

Cut tassels according to preference, fold in half, and tie onto double yarn over holes in a cow hitch knot.


Voila! Go out and show off your gorgeous new shawl!

Monday, November 2, 2015

New Cotton Yarn Batch In Progress!

Current Status: drying... and drying... and drying... forever and ever... because NOTHING EVER DRIES IN FALL am I right?! Don't get me wrong, I absolutely adore fall and winter. I live for the chilly, gloomy, crisp weather. It's the Viking blood in me, I guess. But this is that awkward stage where it's too warm to have the heat on so it's constantly a little chilly in the apartment (again, which I love- I'm finally comfortable!) and anything that needs to dry just won't. And I'm sorry, but I just don't see myself standing there with a hair dryer. Ain't nobody named me got time for that.

Buuuuuuuuut, in the mean time... do you remember the really cool yarn I mentioned here? I was sure that the inside fiber, the gloriously bright highlighter yellow, was the cotton portion. I WAS WRONG, and I am so glad I was! Can you believe how cool this looks?


The first two photos were excess dye and soda ash being rinsed out, and the bottom is a few skeins hanging on a hanger to hopefully dry faster. Here it is, soaking before being dyed:


And a few more photos of the general dyeing process, just because:


The upper photo is a pitcher of urea water (ewww, but necessary) and some Hot Black getting ready to mix together and make sweet dye love. The bottom picture is one of the highlighter skeins after getting it's dye on. Only three of the skeins will be for sale as is- the rest all have fat, ugly knots in them. Those skeins will be knit up into a nice, squishy cowl, and probably sold that way as I can't see myself wearing something so bright, as cool as it will look.

I also made myself a new beaded yarn- terribly greedy, I know, but I had this lovely dusty blue yarn sitting next to come gorgeous copper beads, and it reminded me of the kitchen in the house of my best friends grandma when I was 9 or 10.


The beads and sequins were strung on some plain white crochet thread, and while I thought about dyeing it afterwards, I quickly squashed the idea after remembering the Lurex Mishap of October 2015... oh wait, I didn't tell you about that, did I? Boy oh boy, was THAT a learning experience.

The thing is, I had dyed wool that had been plied with lurex, and since that process involves prolonged exposure to heat, and it had been a success, I thought maybe the cotton yarn would be just fine. Actually, I was apparently convinced that it would be a success, as I plied TWO skeins with lurex before dyeing, not just one.

I'm not sure I even have adequate words to express what a disaster it was. I soon realized, while rinsing out the dye, that little bits of gold and copper lurex were LITERALLY FLAKING OFF, as if King Midas had been shaving his beard in my sink and didn't bother to clean up after himself. I now have these two HIDEOUS skeins of yarn, which I cannot, of course, over dye...


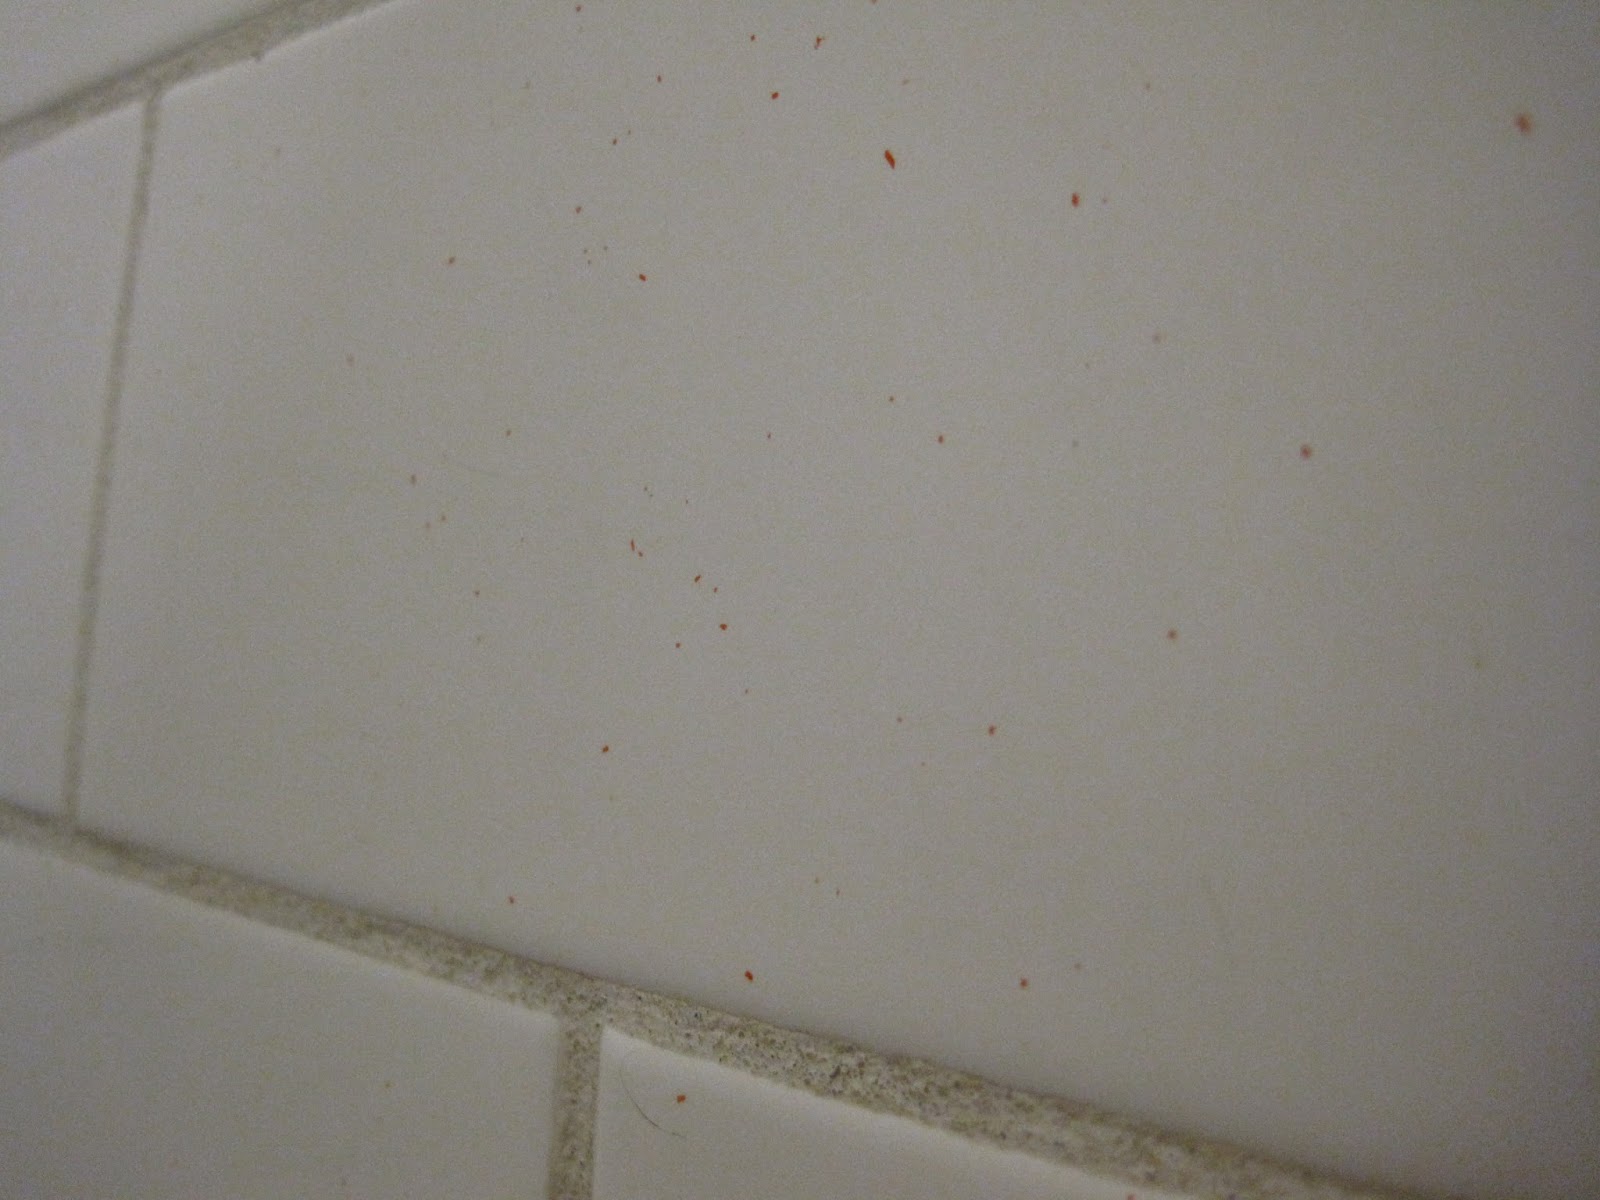
That picture is extremely flattering, trust me. You can see on the left side, though, how dulled and weird some of the lurex looks. Oh, and here's a bonus shot of my shower wall, where I thwacked the yarn to straighten it out after soaking. More King Midas stubble. This was taken AFTER I scrubbed the wall today, too. I've resigned myself to having it there as a constant reminder, I suppose. 


Anyhow, that lovely beaded blue yarn will probably be a chunky knit hat. 

So- a few things I've been thinking about, and one of them involves this blog. I will probably start creating content on WordPress instead, as after 5 minutes of quick research tonight I see there are distinct advantages, and if I'm going to do it, the time is now, before I have any followers or regular readers. 

Also, I am researching how to make great YouTube videos. I would like to start my own podcast, and so I'm watching a few of the offerings out there, and I'm enchanted especially so far by Junkyarns. While I don't have a community built up yet, I'd like to get there. I'd like to be able to get the word out about my yarns more. And, I've decided that the intro and outro music on my videos will be played by me. Betcha didn't know I play violin, eh? I'll make a synth drum beat for it roo or something, it'll be fun. 

Ok, I think that's all for now- I'll update again once I've got some nice finished yarn photos to share. I'll also have some finished knit projects to share too. In case you didn't see the last post, I've re-done a LOT of my shop photos on Etsy, and they're looking really good. 

Happy crafting!

“Properly practiced, knitting soothes the troubled spirit, and it doesn't hurt the untroubled spirit either.” 
― Elizabeth Zimmermann

Thursday, October 29, 2015

Short and Sweet Update


\

What's that? Oh just some beaded yarn I made, hugging it's twin who happens to be adorned with lovely iridescent lurex. It was just an experiment, so I'll be keeping it. But it's something to think about putting in the shop for special occasions! I'm calling it "Dragonfly Pond."

Also, I'd like to point out that I updated my shop photos on Etsy

Happy crafting!

Monday, October 26, 2015

Vermeer Bracelet


Hello everyone! This is the first of several free bracelet patterns I plan to release over the next few months. I often wind up with extra small bits of yarn left over when I unravel sweaters, and once they're plied and dyed, they're just perfect for making small items, like friendship bracelets! There are a ton of different ways to make friendship bracelets- macrame, weaving, crochet, knitting, etc- but since I'm best at knitting, that's the medium in which I'll be designing.

I named this the Vermeer Bracelet because the blue, gray and copper beads reminded me of a few of his paintings. Beads are optional, however-  you can make this as plain or as fancy as you like! Without further ado- the pattern. Enjoy!

MATERIALS:

~5 yards of yarn, any weight- the thinner your yarn, the thinner your bracelet (I used fingering weight)
Needles in a size appropriate for your yarn (I used size 1)
Crochet hook or tapestry needle for weaving in ends
Beads (optional)
Cord, ribbon, or contrasting yarn for tie (optional)

ABBREVIATIONS:
CO: Cast on
K- Knit
P- Purl
Sl1wyif- Slip one stitch with yarn in front
Sl1wyib- Slip one stitch with yarn in back
(NOTE: All stitches are slipped purl-wise)
BO- Bind off

CO 7 stitches.

Row 1: *K1, sl1wyif, rep from * to end, ending with a k1.

Row 2: K1, *p1, sl1wyib, rep from * to last stitch, ending with a k1.

Row 4-6: Repeat rows 1&2.

Hole Rows:

Row 7: K1, sl1wyif, BO 3 sts knit wise, p1, k1.
Row 8: K1, p1, CO 3 sts, p1, k1.

Repeat rows 1-8 three more times, so that you have 4 holes.
Repeat rows 1-6 one more time.
Bind off in pattern. Weave in ends and block, if necessary (I recommend it.)

Cut a length of yarn, ribbon, whatever you decide to use for the cord, and weave it through the holes in the bracelet, starting by going through the top of the first hole. This ensures that both ends will be tucked under the cord when you tie it, and therefore will provide a neater appearance. If you'd like to add beads to the top of the bracelet, add them to the cord as it comes through the second hole and down through the third.


You can see the difference, with and without beads in the above pictures.
The great thing about this bracelet is that you can get as creative with it as you like! You can put studs on it, sew sequins on, whatever tickles your fancy. And because it's knit in linen stitch, it won't curl. Those precious last few yards of your hand spun yarn, or that special yarn you used for that favorite shawl- they can all become something lovely to wear on your wrist- or to give to a friend!

If you have any questions, let me know! I'm always happy to help. And as always, you can find me on Facebook (feel free to post your versions of this bracelet there, I'd love to see them!), Pinterest, and Etsy.

Happy knitting!

Friday, October 23, 2015

I Wasn't Slacking, Part II

In yesterday's post, found here if you'd like a refresher, I mentioned I'd update on the two skeins I dyed before unraveling. The first, Easter Bonnet, started out like this...


...and wound up like this!


Those are both color accurate photos, so the amount of bleeding and spreading that happened while the sweater piece sat soaking in the dye/soda ash is quite remarkable.

The second skein, Pumpkin Spice, had started out looking like this (sorry, I didn't get a shot of it freshly dyed!):


and eventually wound up as a finished skein, looking like this:


Pretty good looking yarn there, if I do say so myself!

I also mentioned yesterday that I was going to talk about a project I'm doing for myself. Last summer, while looking for yarn under the "free" section on Craigslist, I found a very generous lady within walking distance of me, who was looking to get rid of a BIG BAG of yarn originally intended for machine knitting. The selection ranged from cashmere to silk to cotton to wool crepe and rayon, and the bag was so heavy I had to take a cab home! Since then, I've been slowly using the yarns either as is, or dyeing and plying them as necessary for whatever purpose I've decided on.

Well, this one cone of cotton happened to be a super skinny tape sort of yarn. Really skinny and flat, and I swear- the UGLIEST shade of white I've ever seen...as if an egg sat outside on a really smoggy day, not far from a forest fire, and rolled around in some dust. Unbearably ugly. I decided to dye the entire cone, after winding it into 6 skeins. Half of each skein was dyed black, and the other half was dyed rainbow, with the intention that I'd be chain plying it.


I added twist clockwise, and then chain plied counter clockwise...


...and here it is, all finished!


The intention for this yarn is tied into my weight loss goals. I've decided that with each ten pounds I lose, I'll ply another skein, and by the time they're all plied, I'll be down to my goal weight. I estimate it'll be about 3000 yards total, as the one above is 500 yards and they're all pretty much the same size. I'll probably wind up knitting myself a fun little sun dress or something out of it. Whatever it is, it'll be lovely!

And, last but not least- onto the weird sweater I mentioned. Look at this craziness!


It's 64% cotton, 36% polyester blend, so while I have no intention of completely eradicating that awesome highlighter yellow color, I will be able to add some interesting shades and tints to complement the neon glow.

I also unraveled a small, short sleeve pink cotton sweater today, and a GIGANTIC, 2000 lb (I'm not even exaggerating that much) dusty blue cotton sweater. The other blue cotton sweater... I'm mad at myself for, as the sleeve seams are serged all the way around. It's brand new though, I'll probably just re-donate it.

I will be adding free patterns to this blog within the next few weeks, so stay tuned! You can follow me here, or you can find me on EtsyPinterestFacebook, and Instagram. If you're on Ravelry, you can find me under the user name Spookiwaffles.

The Yarn Goddess decrees that thou shalt have a splendid weekend... let it be so <3